
Set up Blink.
From the first launch to your next meeting in the notch. It takes about five minutes, and you need no code and no terminal.
Before you start
- A MacBook with a notch, on macOS 26 or later.
- Blink in your Applications folder. Not there yet? Follow the install guide first.
- A free Supabase account with an organization. Blink puts your private server there. Making the account takes a minute: sign up, confirm your email, and create an organization when Supabase asks.
1. Welcome
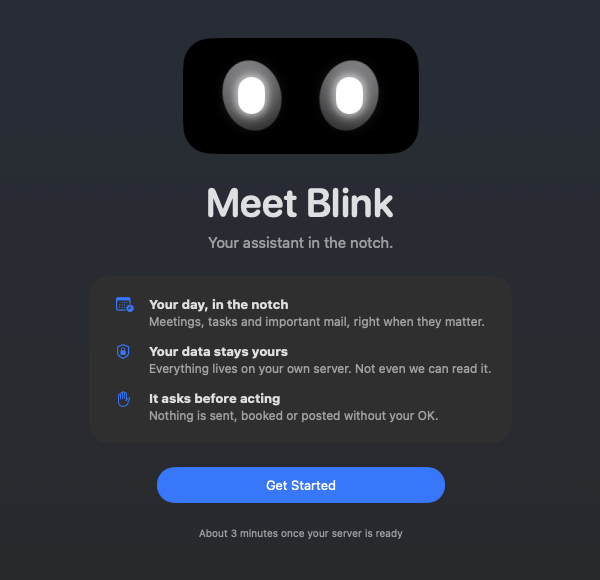
Open Blink. It says hello and shows what it does: your day in the notch, your data on your own server, and nothing sent or booked without your OK. Click Get Started.
2. Your own server
Blink keeps your notes, mail and money in a private server that belongs to you, not to us. Click Create My Server. Supabase opens in your browser: sign in and allow Blink. Blink then creates the server and installs everything it needs, which takes about three minutes. If anything interrupts it, it picks up where it stopped.
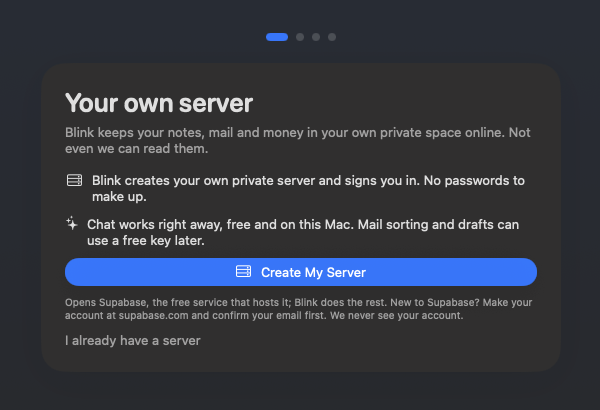
Already set Blink up on another Mac? Choose I already have a server and paste its address and publishable key, from your Blink project in Supabase under Project Settings › Data API and API Keys. If you used Blink on this Mac before, a Reconnect button takes you straight back.
3. Sign in
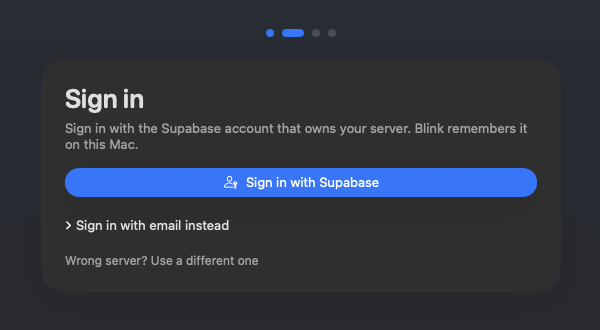
Click Sign in with Supabase and use the same Supabase account. Blink remembers it on this Mac, so you won't type a password. Prefer email? Open Sign in with email instead. Picked the wrong server? Use a different one takes you back.
4. See your day
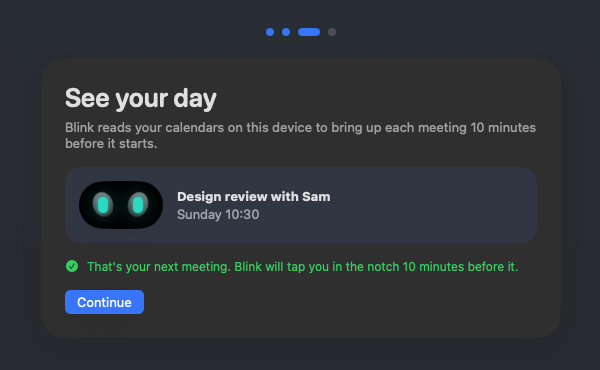
Click Allow Calendar; macOS asks about your calendars and reminders. Blink then shows your real next meeting. It reads calendars on this Mac and taps you in the notch ten minutes before each meeting.
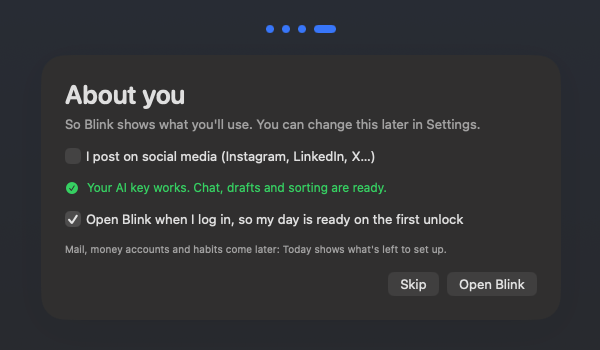
5. About you
Tick I post on social media if you'd like help with posts, and keep Open Blink when I log in on so your day is ready when you sit down. Click Open Blink. Mail, money and habits come later; Today shows what's left to set up, when you want it.
First things to try
- ⌃⌥Space asks Blink anything: “What's left today?” or “remind me to call Sam at 4pm”.
- ⌃⌥D dictates into any app: speak, then press it again to type it where your cursor is.
- ⌃⌥B takes a voice command: “open Chrome and play Alphas”.
- ⌃⌥V opens your clipboard history, and ⌃⌥K searches everything.
- Move the pointer onto the notch to peek at your day; click it to open.
You can change any of these keys in Settings › Shortcuts. All of them are on the keyboard shortcuts page.
Make it yours
- AI. Chat works on this Mac for free. For mail sorting, drafts and better answers, add a free Groq key, or a Claude or OpenRouter key, in Settings › Connections. Pick which model does what in Settings › AI.
- Mail. Connect Gmail, iCloud or any IMAP mailbox in Settings › Connections; Blink brings up only what matters.
- Money. Add your accounts in Money, and catch Apple Pay taps from your iPhone.
- A name. Call your assistant something else in Settings › General › Name.
If something goes wrong
- “No free project left”: free Supabase accounts get two projects. Pause or delete one at supabase.com/dashboard, then try again.
- Supabase asks for an organization: create one on supabase.com (it's free), then click Create My Server again.
- Calendar shows nothing: allow Blink in System Settings › Privacy & Security › Calendars.
- Dictation or voice commands don't type: allow Blink in System Settings › Privacy & Security › Accessibility.
Need help?
Write to hello@blinkk.app.